Supplemental Assignment 1: Black & White conversion
Assignment Theme: "Epic Skies"
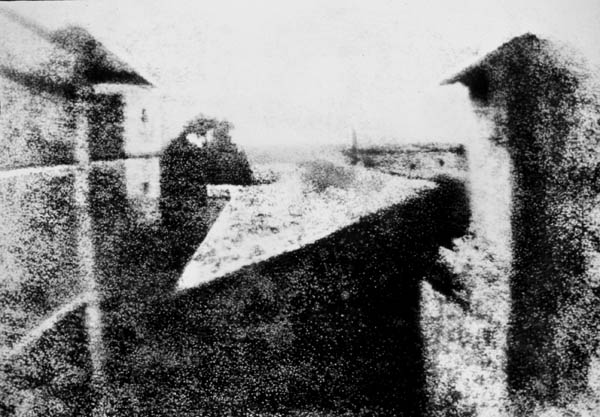
Before chroma, there was luma. Long before we ever had color photographs, photographs were simply based on luminance - levels of brightness - without any sort of hue or saturation. The first photo ever, by Nicéphore Niépce in 1826, was in black and white:
Black and white, of course, came about because of lack of technology, not because it was actually superior to color. The materials initially used for photography were photoreactive to any kind of light, not any specific colors, so the only thing that could be measured was simply how much light there was.
These days of course, everything is in color - there isn't a single camera on the market that records only the luminance information. This is a good thing - color provides a lot more information and can be manipulated in many more ways. However, and here we delve into the subjective-feely part of photography, there's a certain unique aspect that is exclusive to black and white photography. Call it the isolation of monochrominance, the epicness of rich shadows, or just plain old nostalgia - black and white photos are simply attractive to people, for many different reasons.
For this assignment, you'll learn how to convert your images into black and white (or technically, grayscale). There are a few ways to do this. Your first inclination is to use the black and white mode on your camera. "COOOL!! This is so artsy and sophisticated", you might have said the first time around. But this is noobish, and a terrible way to go about making black and white images.
The key to black and white imagery is that, even though your final image has no color, the physical world and the light that actually reaches your camera does have color. By making use of this color by controlling how much different colors factor into the luminance information of the image, you can create stunning B&W images that highlight or contrast select elements.
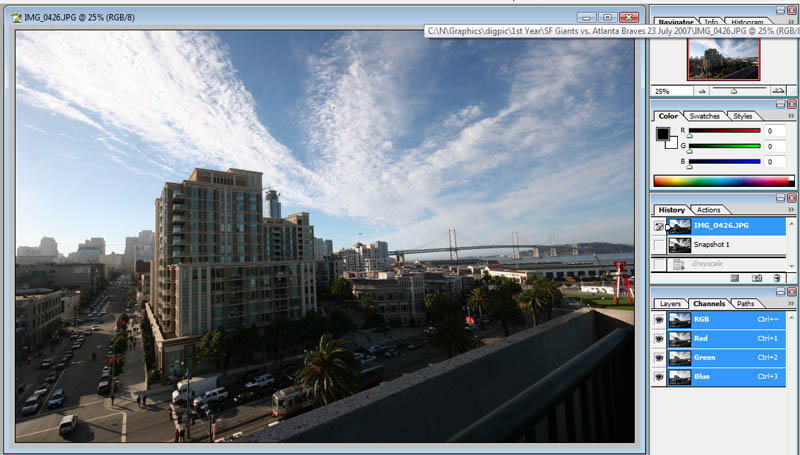
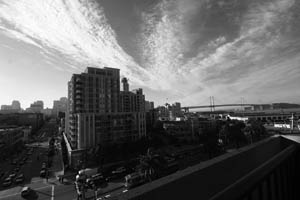
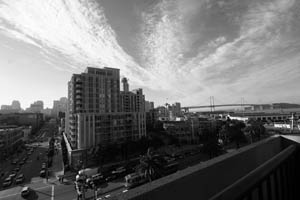
Start with this plain old color image here:
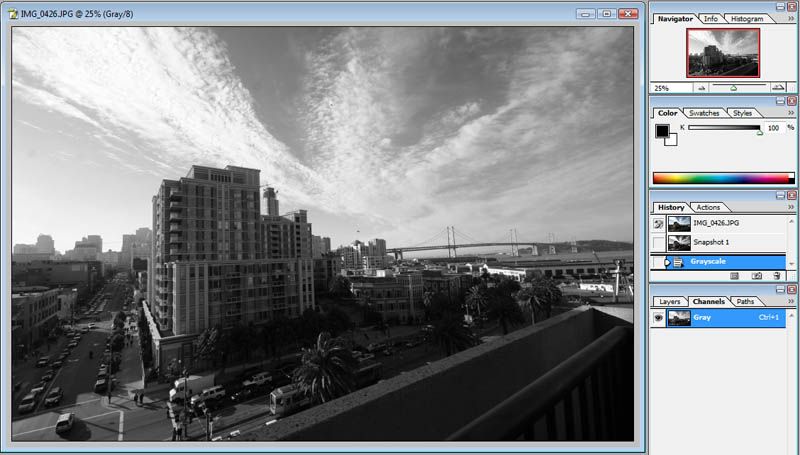
Direct Grayscale/Desaturation
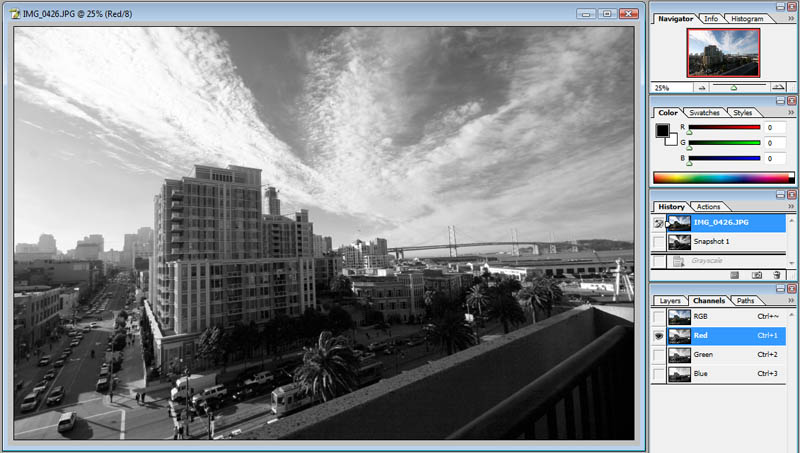
Red channel
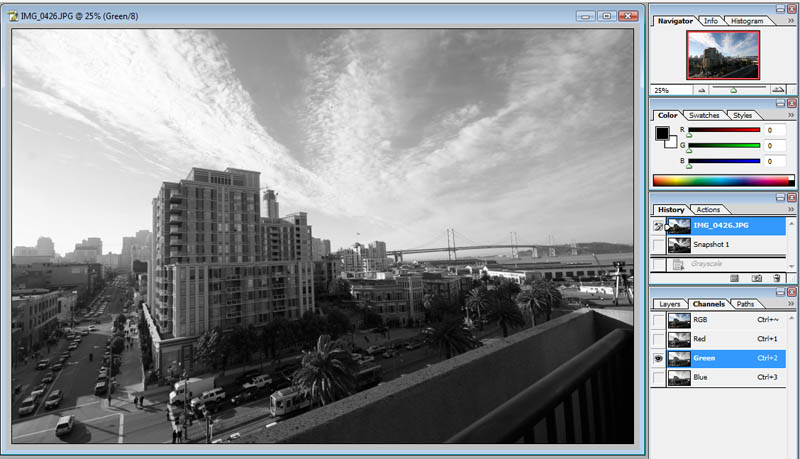
Green channel
Blue channel

Equal RGB Combination
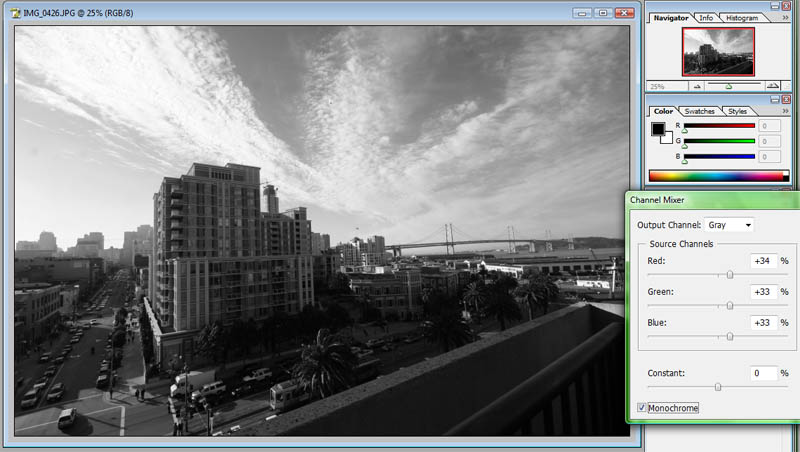
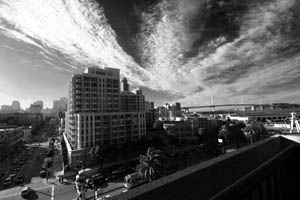
The image here looks very boring, because it is - this is pretty much taking equal amounts of red, green, and blue together, which is pretty similar to the regular scene without color. In other words, our ordinary grayscale image that comes straight out of the camera or grayscale conversion mode.
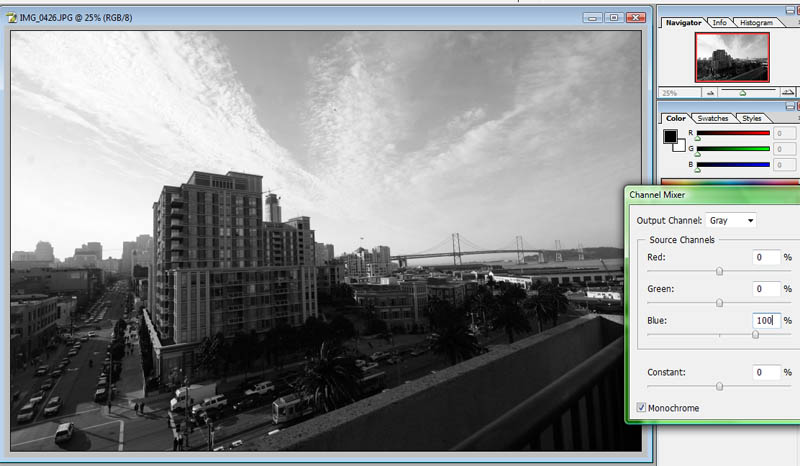
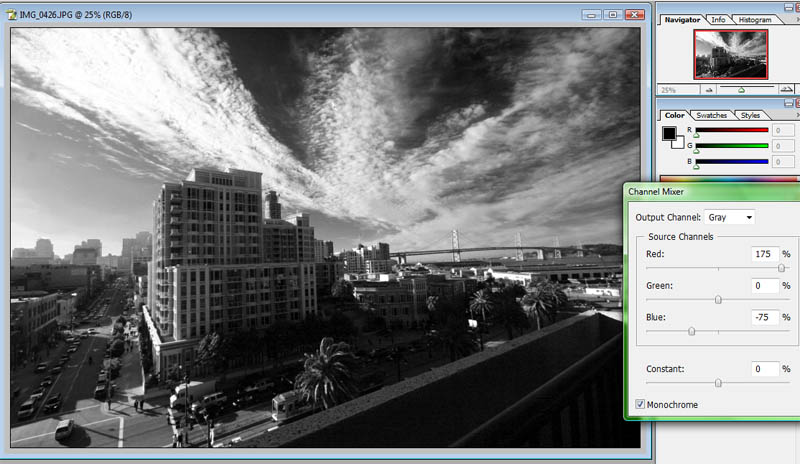
Original color; direct grayscale conversion; channel mixer conversion with +175% red, 0% green, -75% blue
Original Color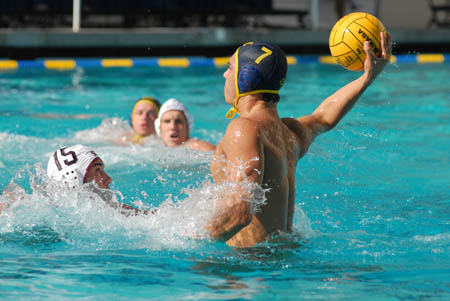
|
Direct grayscale conversion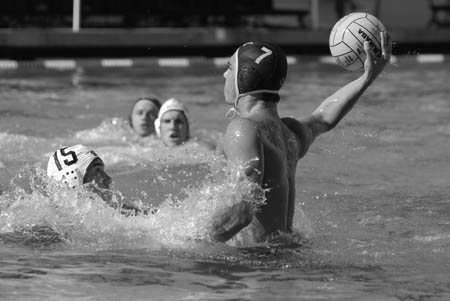
|
Red channel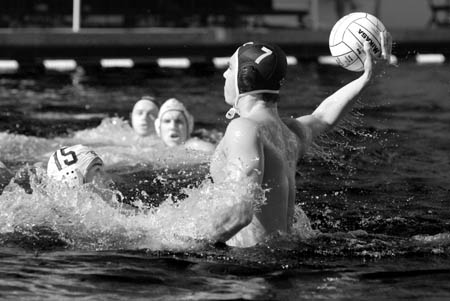
|
Channel Mixer: 25% Red, 25% Green, 50% Blue
|
Channel Mixer: 70% Red, 40% Green, -20% Blue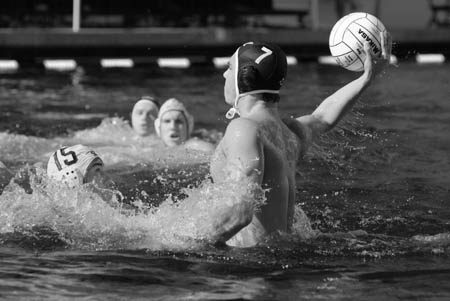
| |
Supplemental assignments are extra assignments that can be done for fun, but will also count towards the 6 completed assignments you'll need to pass the class. For this assignment, take a color image and turn it into a black and white image, utilizing the channel mixer to create mixtures of color that give a more interesting result than the plain old direct grayscale. Submit the original color image, the direct grayscale version, and two images created using different channel mixer combinations.
Assignment Summary:
- Convert a color image to black and white, using the process described above.
- Submit the original color image, direct grayscale conversion, and two images created with different channel mixer combinations
- Tip: The best black and white photos come from images that have a strong color to begin with. Blue water or green foliage make especially interesting subjects.
- Don't be afraid to utilize negative percentages in the channel mixer.
- It would be great if you could get this assignment in before the last class on December 6. We'll spend the last class going over some of thes supplemental assignments.