Assignment, Week 9: Dynamic Range
Theme of the week: "Shadows + Silhouettes"
As we talked about in class, every photographic scene (not the images our cameras take, but the scene itself) has a "dynamic range" - the brightness range from the darkest area to the brightest area. For the picture below, we have a very large dynamic range - the mousepad, keys, and papers on the right side are very bright, while the area on the left side is very dark.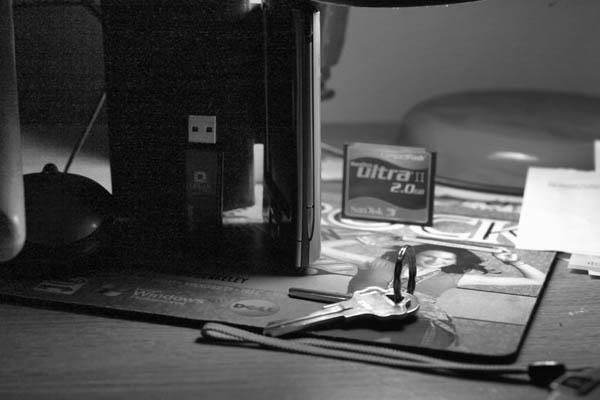
When we actually take the pictures, however, the images end up looking like this:
Autoexposure, underexposure, overexposure
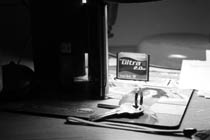
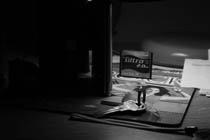

The first result was using the default settings on the camera. As you can see here, the results were less than optimal - a lot of the bright areas didn't have any detail but were just completley white. Similarly, tHe dark areas did not have much detail, but were instead completely black. For the 2nd image, I tried making the image darker, and this restored the detail in the bright areas - I can actually distinguish the pieces of paper on the right from the mousepad, for example. On the downside, the area on the left became even darker - almost all of it is completely black. Pushing the other way on the 3rd picture with a brighter exposure, I can finally see details in the dark area to the left, but the bright area on the right is almost completely white.
The problem we're seeing comes from the limited dynamic range of the camera. In reality, the scene spans a very wide brightness gamut. Our camera, however, is only capable of capturing a portion of that dynamic range - its dynamic range is less than that of the scene.
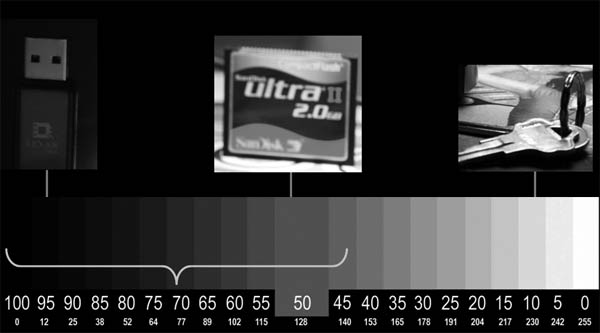
The curly bracket represents the dynamic range the camera can encompass. As you can see, it's not nearly enough to cover the entire range of the scene. At its current position, it can only cover the dark range and the middle range - thus the bright range will become completely white. If we shifted the camera's exposure to the right, we might be able to capture the bright and medium areas. However, the camera's dynamic range wouln't be able to cover the dark areas, and these would become completely black.
This week's assignment is to experiment around with these kinds of "large dynamic range" situations - scenes where there is both a mix of very bright and very dark scenes beyond what the camera can handle. Take at least 3 pictures of this scene - one using the automatic settings, one underexposed (darker - use the "EC" or (+/-) button set to -2) to prevent the bright arrows from becoming too white, and an overexposed image (EC set to +2) to keep the dark areas from becoming too black. The objective is to stress the limits of what our cameras can capture, and next week we'll learn about what we can do to deal with these situations. If you're interested, the theme for this week's assignment is "Shadow and Silhouette". Here are some examples - not necessarily for creative inspiration, but to give you a bit of a real-world feel of the problems you're going to encounter - too-bright whites ("blown highlights") and too-dark blacks ("crushed shadows"), and ways you might be able to either avoid them, or use them creatively to your advantage.
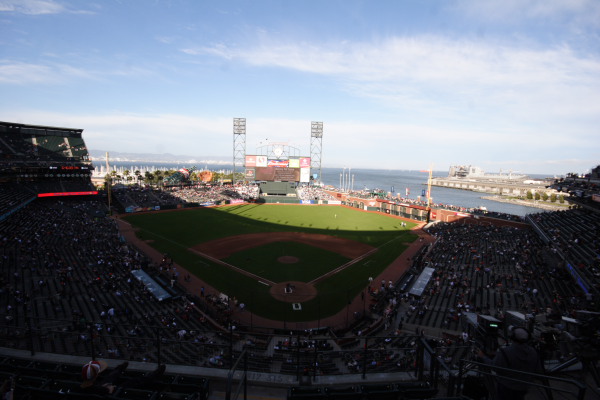
Pac-Bell SBC AT&T That ballpark the Giants play at, towards sunset
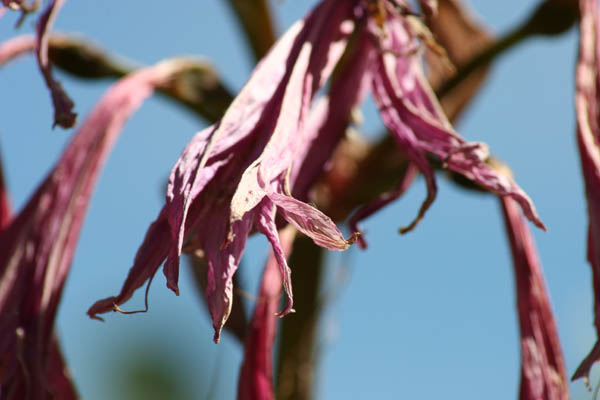
Wiltering under the sun
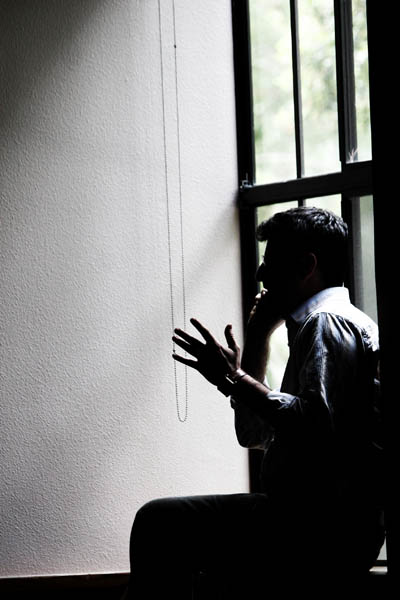
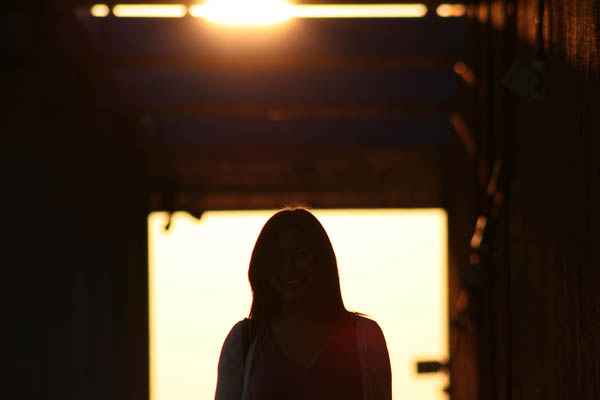
Impenetrable by light: The Anonymous Shamim P.
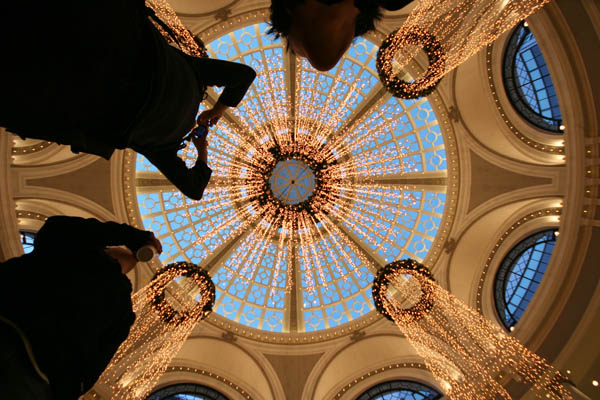
Tres Amici
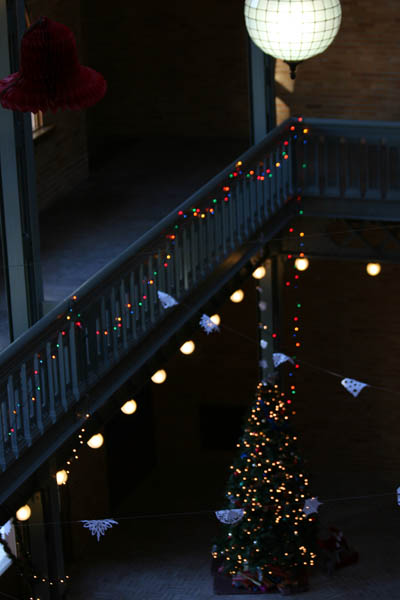
All alone in Berkeley on a post-finals Christmas
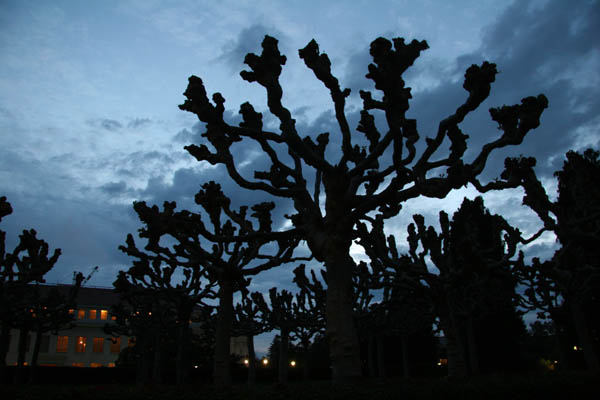
Naked Winter Abominations
Ordinary Silhouette
Assignment Summary:
- Find a scene with a large dynamic range - containing both very bright and very dark areas at the same time.
- Take at least three photos - one using the automic settings, one using EC-2 underexposed settings (darker), and one using EC+2 overexposed settings (brighter).
- Tip: We'll focus on this more next week, but start thinking about how you might be able to take a photo of the same subject while fitting the scene into your camera's dynamic range (different angles? time of day? positioning?). Also, how might you utilize the large dynamic range of the scene and the limited dynamic range of your camera to your advantage?